
Is it worth converting to tubeless?
The vast majority of new bikes will come with wheels and tyres that are ‘tubeless compatible’ or ‘tubeless ready’. But unless you request tubeless most bike shops will sell you the bike with tubes still in. So if you’ve not made the switch yet is it worth bothering converting to tubeless?
Here’s everything you need to know about the benefits and drawbacks.
What is tubeless?
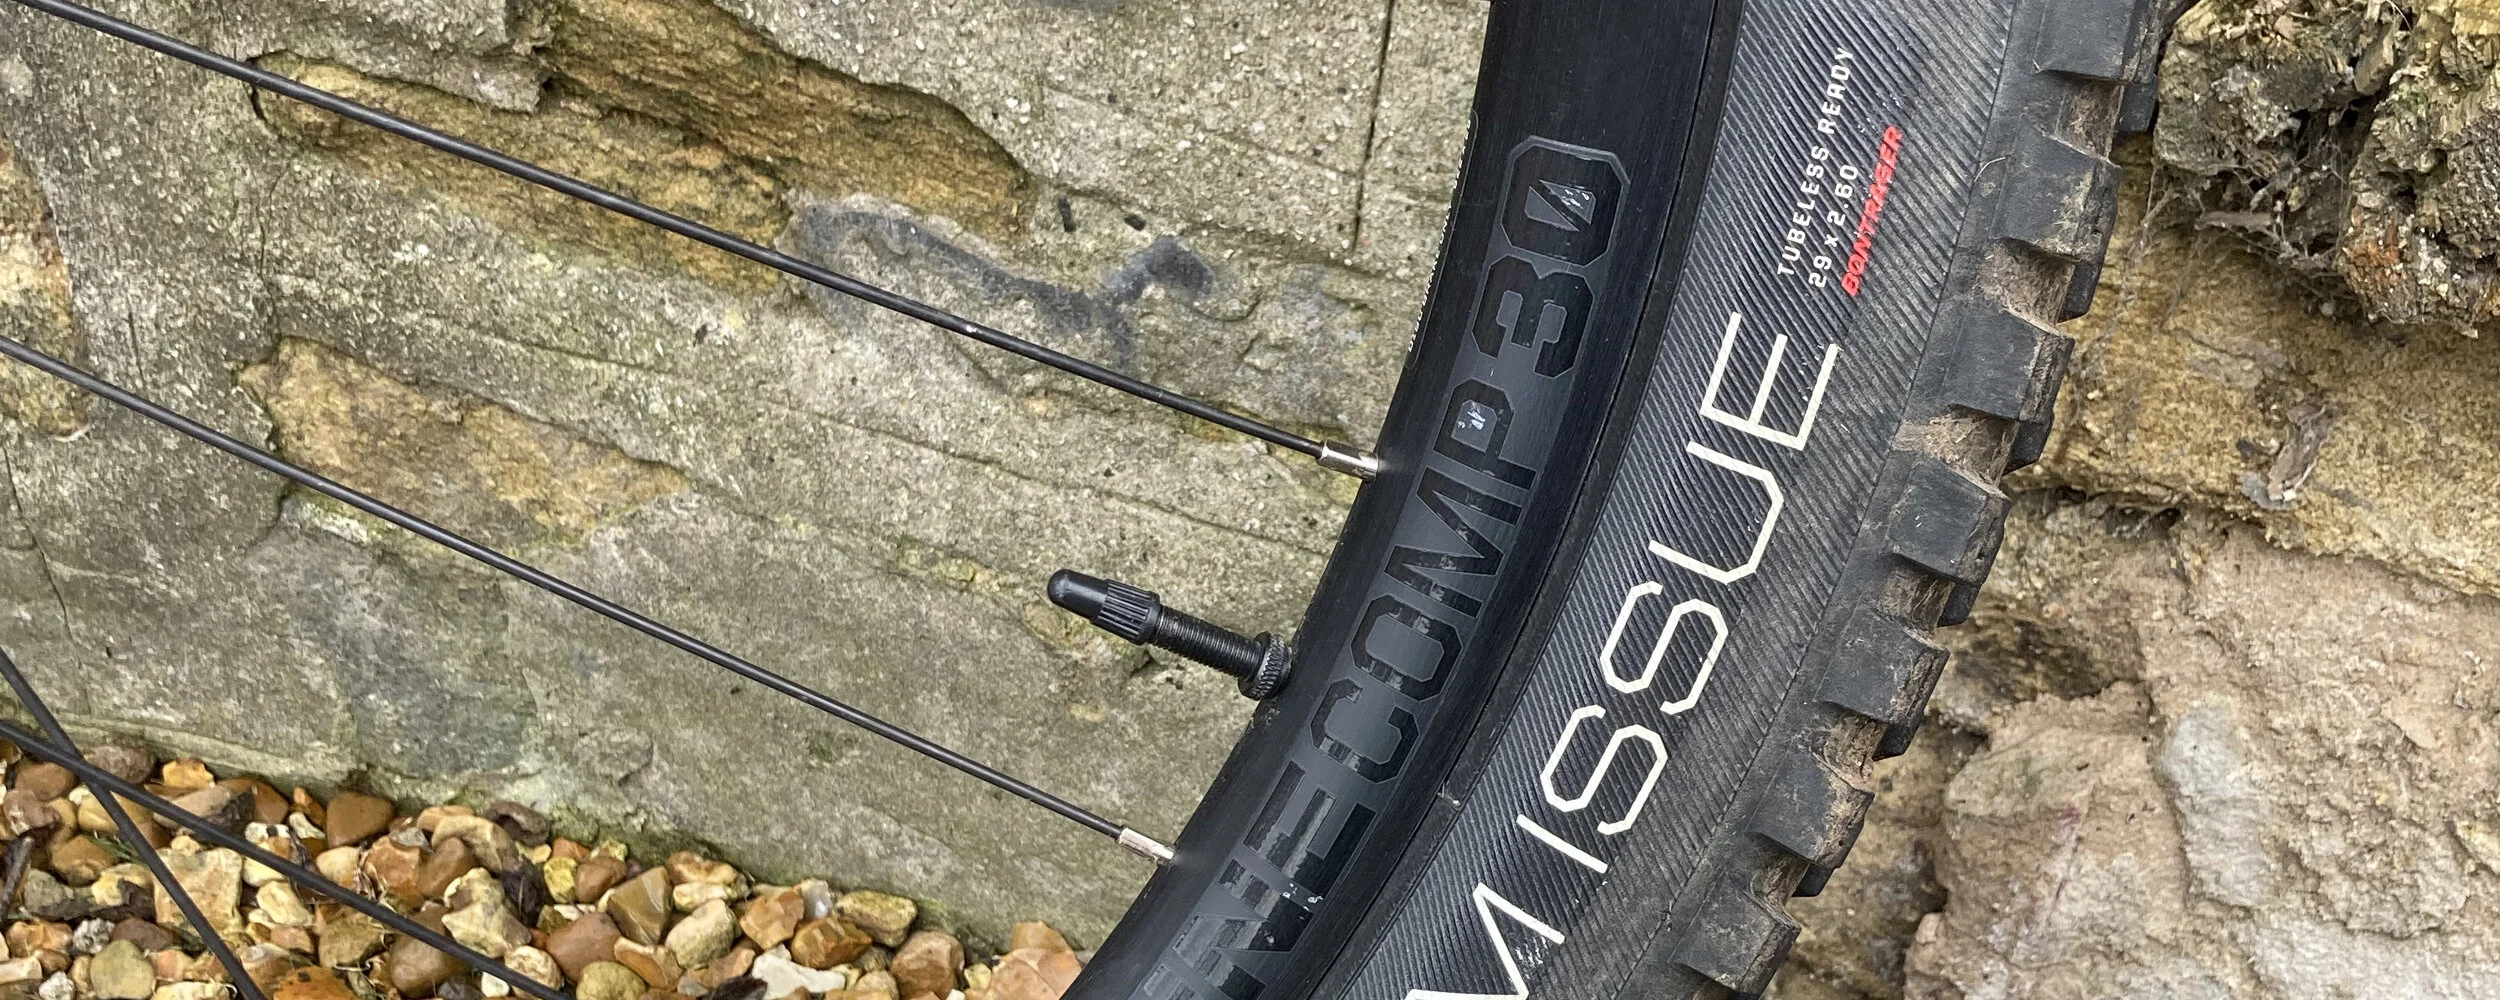
Basically a tubeless set-up doesn’t use an inner tube to hold air inside the tyre. Instead the rim, tyres and valves all seal airtight. Just like your car tyres. The rim of a tubeless wheel and the beads on a tubeless tyre are a slightly different shape, this simply prevents the tyre from separating from the rim as easily as a regular tyre with an inner tube would. The rim will also, in most cases, use tape on the bed where the spoke and valve holes are to help create an airtight seal. During installation of a tubeless set-up sealant is poured in. This sealant coats the inside of the tyre and rim to seal any small gaps where air can escape.
I’m a big fan of running tubeless, and have been for a number of years, and in this time tubeless set-ups have grown massively in popularity.
'There is a misconception that once you have switched to tubeless you never have to worry about a puncture ever again. This isn’t strictly true.
What are the benefits and downsides of running tubeless?
Whilst pinch flats, where the tyre is hit so hard the bead of the rim can cut through an inner tube, are completely eliminated, you can still slice through a tyres casing. This is quite a feat if you manage it, especially as tubeless tyres generally have thicker sidewalls and a more robust casing, but if you are unlucky enough to slice your tyre no amount of sealant will plug that gap.

Tubeless doesn’t mean you are immune to tyre issues. Sealant will not plug a big tear in your tyres casing.
Tubeless set-ups are also fairly resistant to thorns. In fact when I was recently replacing a tyre, I noticed a couple of thorns poking through the inside that I didn’t even know were there until removing the tyre. This is the sealant working like a charm. If I had been running tubes, this would have been an immediate puncture and trail side repair, alongside some undoubtedly choice language as I changed tubes over. Tubeless repair kits are an essential bit of kit to carry if you run a tubeless set-up, but depending on the size of the hole they may or may not be useful.

It’s always worth carrying some extra sealant and a tubeless repair kit. just in case.
Another big benefit of a tubeless set-up is that you can generally run lower tyre pressures. Lower tyre pressures will improve grip and traction as the tyre will deform around the trails irregularities rather than bounce over them. This in turn will give you more control and increase comfort. But, if you run too low a pressure, it may lead to burping the tyre where you will lose all air, sealant and possibly damage your rims from the impact of the terrain you’re riding on.
Damaging or denting your rim, whilst it is disheartening is not the end of the world, but it can be tricky to seal a tubeless tyre on a less than perfect rim.
If you are looking to lighten your bike a tubeless set-up, in most cases is lighter. Although this does depend a little on your set-up. For all you weight weenies that are trying to make their bike as light and fast as possible, tubes weigh on average around 200g per tyre, just remember that some of that weight will be added back in with sealant. Even so your weight saving from converting to tubeless should still be net positive.
The major downside of running a tubeless set-up is that initially it may be quite costly, especially if your current set-up isn’t ‘tubeless ready’ or ‘tubeless compatible’, as it will mean buying a whole new set of wheels and tyres. Although it is possible to DIY a tubeless set-up with a bit of know-how and perseverance. Also sealant is relatively costly in comparison to tubes, but this will depend on how many tubes you go through. If you find yourself going through a lot of tubes, I would definitely suggest it’s worth converting to a tubeless set-up, and if you do, and for whatever reason you don’t like it, it’s easy enough to switch back to tubes. All you have to do is wash the sealant out, put the tubes back in, remount the tyres, and away you go.
Which leads me onto my final point.
Setting up tubeless can be time consuming. The hardest part more often than not is mounting the tyre and getting it to sit properly on the rim to create an airtight seal. Tubeless tyres generally have a tougher, stiffer and more durable casing, which can lead to problems getting them onto the wheel in the first place. Once everything is in place and the sealant is in, you have to add a lot of air quickly to make sure everything sits and seals correctly. This is where an air compressor is useful. I personally use the Airshot Tyre Inflator. Your portable hand pump will be no use here, and from my experiences if you have any dents or dings in your rim, even a floor pump won’t be much use if you can’t pump fast enough to get the air in before it escapes. Initially it does take a little bit of practice and plenty of patience to convert to a tubeless set-up.
Conclusion
It is potentially worth all cyclists to consider looking at running a tubeless set-up, not just mountain bikers. Just remember that it won’t make you immune from tyre issues. You should still carry an inner tube on your rides. You can still puncture. You can still lose air. You can still tear a tyres casing. If any of this happens, whether you are running tubeless or tubed, sometimes the only way you are going to realistically carry on with your ride is by popping a tube in. But the chances of you having tyre issues when running a tubeless set-up, is in my opinion, greatly reduced once you have the set-up that suits your riding style.
Benefits
Pinch punctures are eliminated
Thorns are unlikely to cause any problems
You can run lower tyre pressures for improved traction and comfort
It’s lighter which can equate to faster
Downsides
Initial set-up can be costly
Sealant dries out and will need topping up
Changing tyres can be messy and some tyre/wheel combinations are hard to seal
There can be a bit of learning curve