
Tips for the novice mountain biker - part 1
If you have recently become more active, and are passionate about exploring the great outdoors, mountain biking could be the activity that helps to maintain this newly found intrepid lifestyle.
The majority of riders don’t get into mountain biking for the racing, but they become some what obsessed with it because it allows them to embark on wild travels whilst giving them the opportunity to explore places they generally would never go. After all cycling is much quicker than hiking, and infinitely more fun. It gives you a rush of adrenaline like nothing else.
If you are only just starting your mountain bike journey the amount of specific gear and equipment may seem daunting, and even expensive. But a lack of experience and knowledge won’t stop you from falling in love with mountain biking, and if you can arm yourself with some key bits of information you’ll soon be going from newbie to trailblazer in no time at all.
In part one of this series of posts I discuss the main components that make up your bike, and I also delve into the clothing and equipment that you should probably own to maximise not just your safety, but also the enjoyment you get from riding.
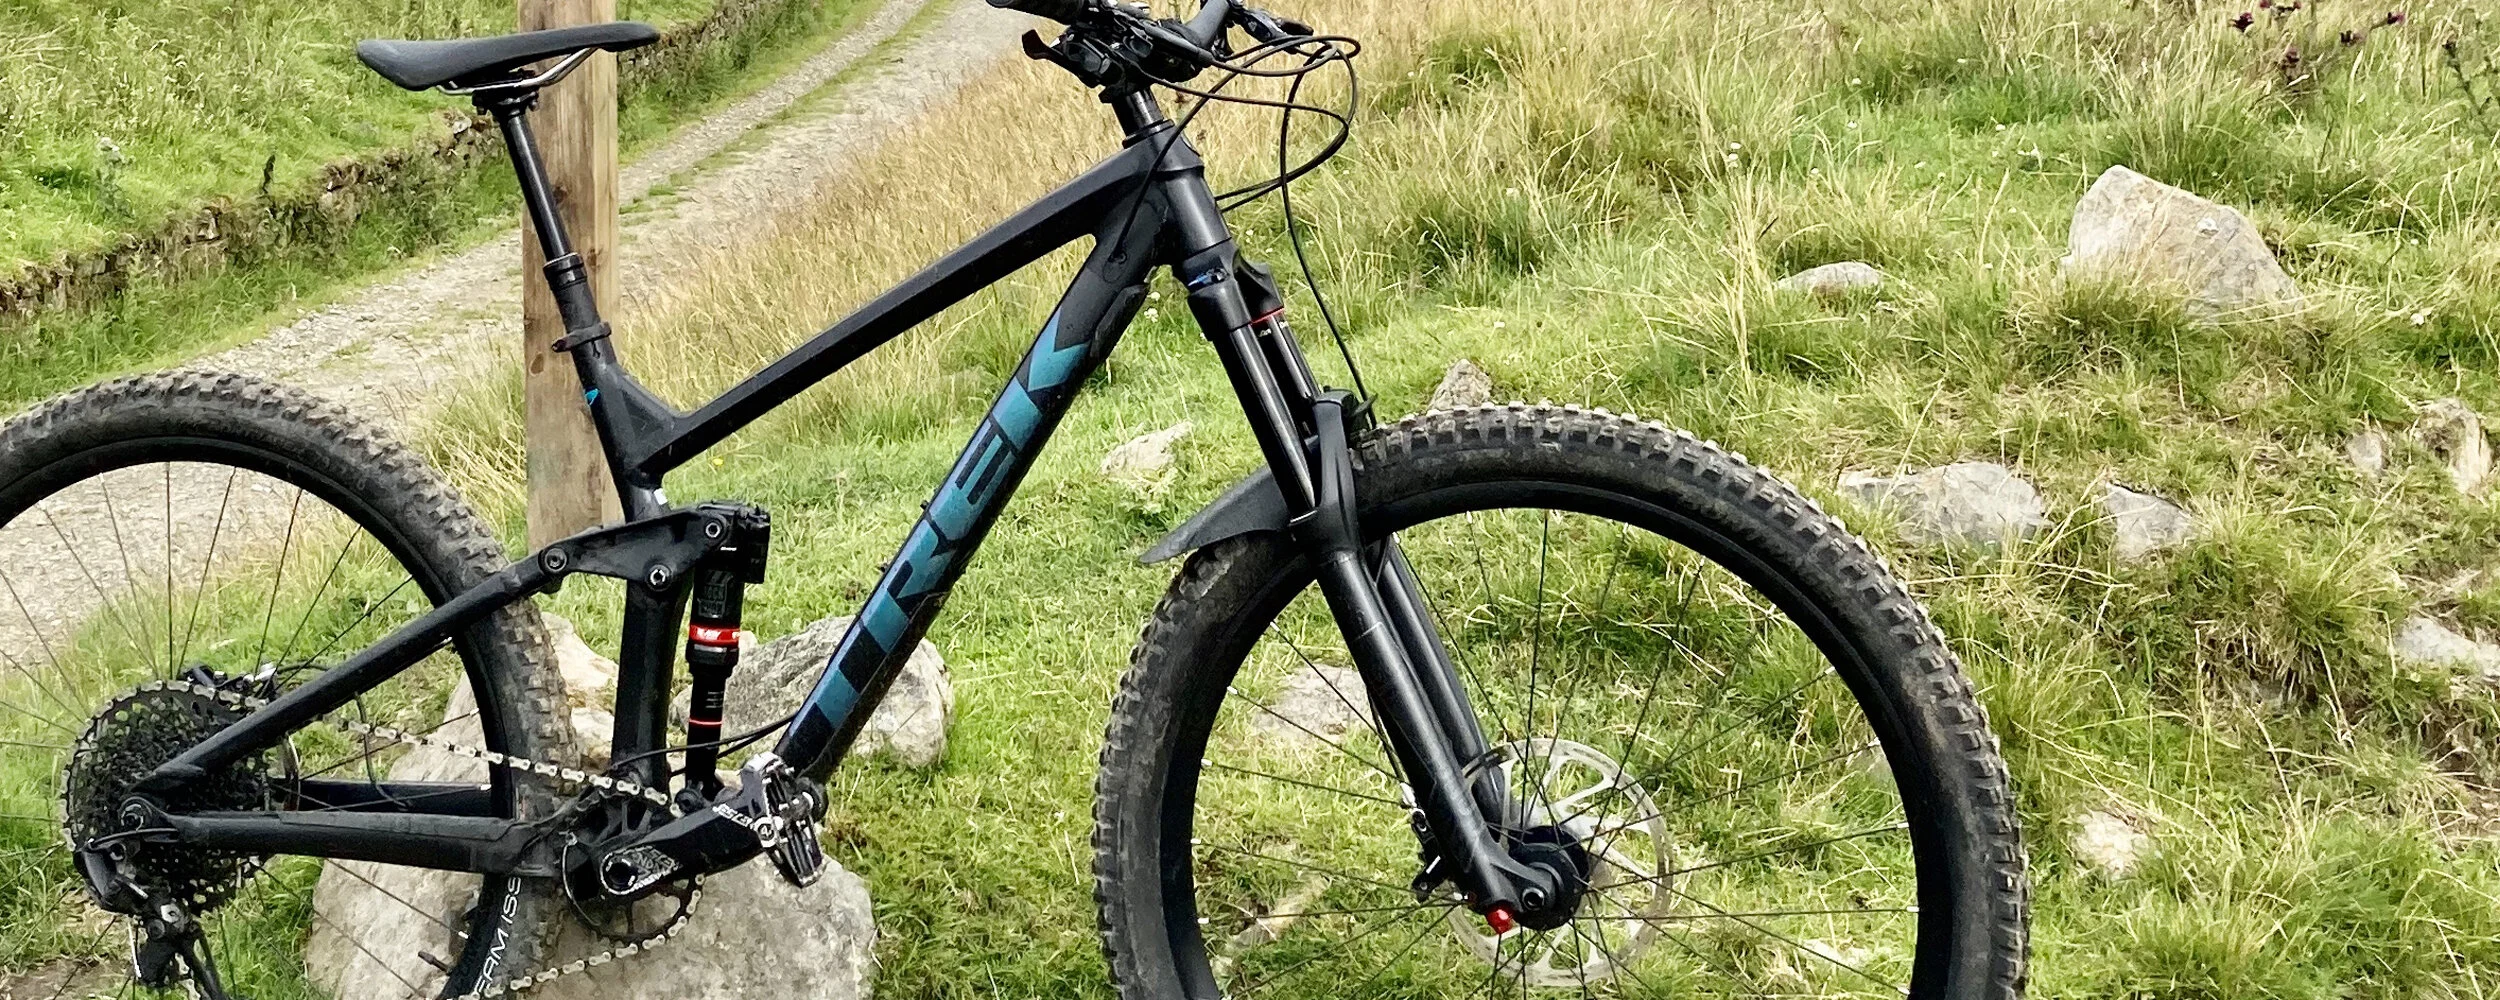
Mountain bikes, whether they are hardtail, or full suspension, are highly tuned pieces of machinery, or they should be if they are working efficiently. All the components work together to ensure the ride is smooth. Whilst you don’t really need to know the torque specifications for every nut and bolt, a basic understanding of the main components of your bike is always prudent.
Suspension
The front forks and rear shock, if you have a full suspension bike, are designed to smooth out the terrain and absorb impact which in turn enhances the traction. Forks and shocks come with varying degrees of travel, that is the amount of vertical movement that is allowed. Most modern mountain bikes will offer anywhere from 120-160mm travel on both the forks and shocks. The more travel that the bike has generally leads to a more forgiving ride, which is perfectly suited to steep, and technical descents.
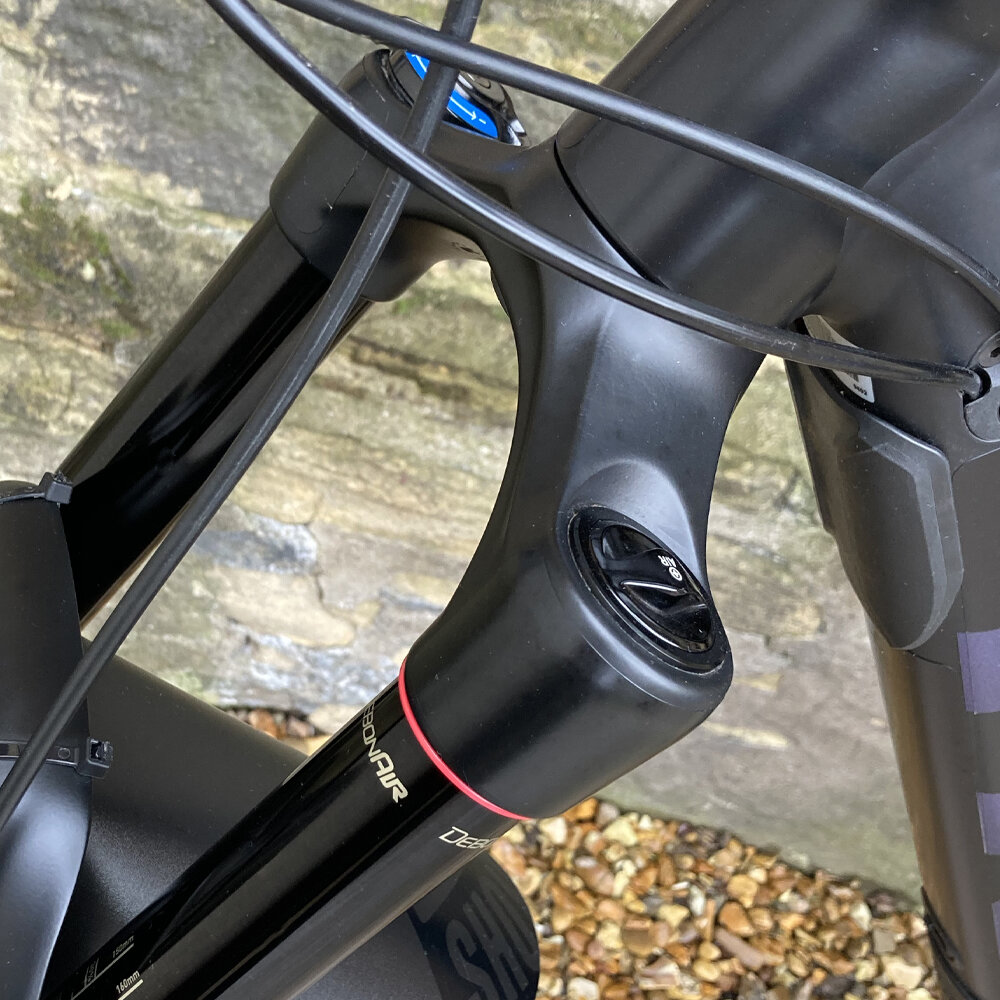
The RockShox Yari RC DebonAir 160mm fork.

RockShox Deluxe RT3 RE:aktiv 150mm Shock.
Using a combination of springs and air to deliver the travel allows the forks and shocks to be tuned to the riders specific needs, with many allowing you to lock out the suspension which is beneficial on non technical terrain such as roads and lanes.
It’s important that your suspension is set up properly as it will make a huge difference to how your bike behaves on the trails.
Brakes
Disc brakes are now standard on most modern mountain bikes. Hydraulic disc brakes are more common on mid-range to expensive bikes, where as cable operated ones tend to be specced on cheaper entry level bikes.

SRAM Guide R hydraulic disc brakes.

SRAM Centreline 180mm rear rotor.
Disc brakes essentially keep the braking surface (the rotor) away from the trail meaning that they tend to offer more reliable control, power and modulation regardless of the conditions you are riding in. The rotor attaches to the hub of the wheel with either six bolts, or a centre lock system that uses a lock ring. The size of the rotor can vary from 160mm - 203mm, with most bikes running a bigger rotor on the front for extra stopping power.

SRAM Centreline 200mm Front rotor attached to the hub via the 6 bolt system.
Baring any accidents once set-up all you ever really need to do is change the brake pads once they are worn. If you have hydraulic brakes on very rare occasions they may need to be bled, and whilst this is manageable at home if you have the specialist bleeding kit, it is often best left for a professional to do.
Gears
Modern mountain bikes now come equipped with a wider range of gears to enable you to tackle steep, slippery and technical terrain. Many will run a single 30t - 36t chainring with a 10, 11, or 12 speed cassette. Budget orientated bikes are still packaged with double and triple chainrings, but with single chainring bikes offering a huge range of 10t - 50t double and triple chainrings are becoming less common. Personally, I would never buy a bike with more than a single chainring, as it’s just not needed with the rear cassettes becoming bigger, therefore giving you a higher ratio of gearing.

SRAM GX Eagle, 12 speed shifter.
The gears are controlled by the shifters on the handlebars. The shifter controls the derailleur, which is the mechanism that operates the gears and moves the chain up and down the cassette. If the gears shift, slip or jump from position, it is usually an issue with the derailleur. It could be anything from cable tension or friction, or even poorly aligned when initially set up. Ignoring inaccurate gears will not only compromise your bikes precision, but it will also wear down the components at a quicker rate.
Chain
Overtime chains wear down and stretch. Once the chain is worn it can not only affect the smoothness of your gear changes but it can also wear down your cassettes, jockey wheels and chainring. Looking after your chain is key to maintaining proper shifting performance between gears, whilst also helping to prevent corrosion.

SRAM GX Eagle 12-speed chain.
The lifespan of a chain can be extended if you look after it with regular cleaning and lubrication. It’s a good habit to get into if you clean your chain after every ride. Depending on how deep a clean you give your chain will depend if you need to reapply lube. There are an endless amount of options for bike specific chain lube from countless different brands, you will predominately come across wet lubes (for wet weather riding), and dry lubes (for dry conditions). There are also ceramic and wax lubes. Personally I tend to just use dry lube, even if it is wet and muddy, mainly because dry lube doesn’t attract dirt as much as a wet lube, and will last a ride without any trouble. It just means I need to reapply the lube more often than not after cleaning.
Pedals
Most bikes don’t come with peddles and if they do they are usually terrible cheap plastic ones that should be changed immediately. As a beginner to mountain biking I would always recommend that you run a flat pedal. If the terrain becomes too difficult a flat pedal makes it much easier to bail out and place a foot down.
Flat pedals come in a variety of shapes and sizes, and the material they are made from can vary from brand to brand. They have aggressive pins on them which bite into the rubber soles of the shoes you wear, meaning your foot is less likely to slip off. Most brands will have a range of pedals from the budget conscious to the mega expensive. Metal pedals tend to feel a little sturdier under foot, and generally last a little longer whilst being slightly more weather resistant. Although you can get some amazing composite pedals that are super grippy, perform brilliantly and are amazingly well priced.

A well used and much loved Hope F20 flat pedal.
There are plenty of reviews out there for pedals so I would recommend doing some research, or alternatively if you go to your local bike shop ask them if you can test a few different ones to find a pair that suits.
The saddle
A comfortable saddle is essential to make the most of your riding, after all you are going to be sat down for the majority of a ride, therefore it would make sense to not just settle for the one that came on your bike. As with pedals, saddles come in all different shapes, sizes, widths and materials they are made out of. Everyone carries a different butt behind them, so it’s crucial that you try a few different options and find one that feels comfortable. You really don’t want saddle sores, especially when they can be avoided by having a saddle that suits you.
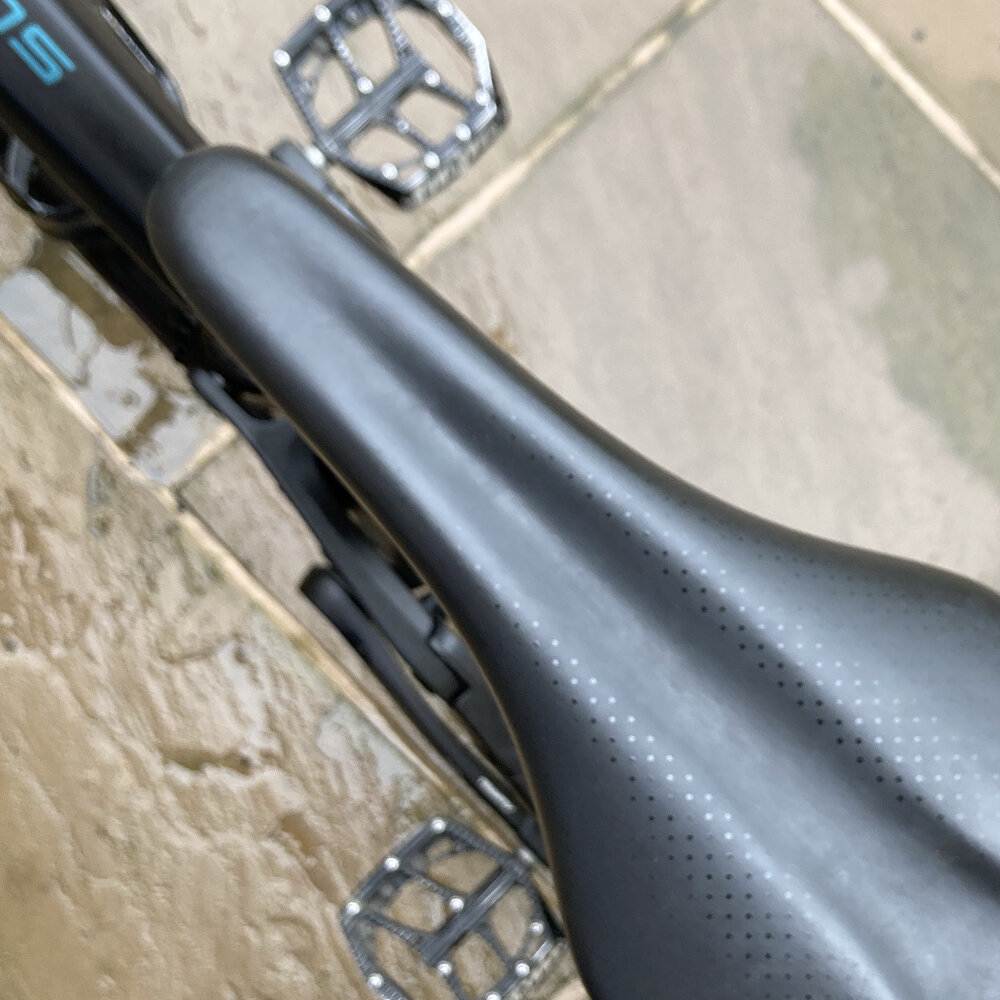
Bontrager Arvada saddle with hollow chromoly rails.

Bontrager Line Internal 125mm Dropper Post.
Don’t assume that the bigger and more padded a saddle is the better it will be. More often than not, it’s the harder saddles that are found to cause the least amount of friction. Focus on the shape of the saddle rather then the weight and design.
Many bike shops offer a bespoke fitting service where they will help you find the right saddle by measuring your sit bones and then using that to find the appropriate saddle. This can be costly, but there is nothing stopping you sitting on some bikes with different seats to find one you like.
Handlebars
Obviously these are used for steering, and again they come in all different widths with varying degrees of rise and upswing. The width of the handle bar, from end to end, often depends on the size of the bike and what the bike is designed for.

Bontrager Line 820mm width Handlebar
A wider handlebar promotes greater stability and better positioning for balance when pedalling standing up. Where as a narrower handlebar promotes faster manoeuvrability and allows for easier passage through tight sections on a trail. Narrow handlebars also tend to suit the smaller riders. You will usually find wider handlebars on downhill bikes, and narrower handlebars on XC bikes. As a beginner I wouldn’t worry too much about the handlebar width, but more the reach to the handlebars and ensuring that the riding position feels comfortable. It is possible to adjust most handlebars to suit your height so you are not exerting too much energy leaning down or reaching up.
Wheels and Tyres
Mountain bike wheels have a combination of strong, light, stiff and wide rims to accommodate varying size and volume of tyres. Uber expensive bikes may come stocked with carbon rims for extra durability, but alloy rims are much more commonplace. The size of the wheels has changed throughout the last 20 years. The previous standard of 26” wheels has all but been replaced by 27.5” (650b) wheels, but now even bigger 29” wheels are becoming more common and are seen on the bigger framed bikes for taller riders.
27.5” wheels are regarded as being more agile, playful and nimble whilst allowing you to accelerate with less effort when compared to the bigger 29” wheels. However, 29” wheels feel more stable at high speeds, carry their momentum better and roll over rough terrain and obstacles with less effort.
When it comes to tyres the choice of widths, tread patterns and rubber compounds of the modern mountain bike tyre can be bewildering. Initially the tyres that come as standard on your bike will be perfectly ok, but as your skills improve upgrading the tyres can make a big difference to your confidence in the handling of the bike. It is also worth considering opting for a tubeless set-up for improved traction and less chance of punctures. The sealant in the tyre should effectively seal the majority of punctures.

Bontrager XR5 Team Issue Tubeless 29 x 2.6” Tyre on Line Comp 30 rims.
Prior to riding it’s important to check the wear on your tyres as well as your tyre pressure. The tyre pressure determines the amount of traction and grip you will potentially have on the trail. When the tyre pressure is high it can cause the wheels to bounce off the ground rather than absorb the trails irregularities. With lower tyre pressures you will have greater grip and traction, but if the pressure is too low you run the risk of denting your rims. The ideal tyre pressure depends on several factors. I’ve wrote an article on all you need to know about tyre pressures so feel free to read up on it.
Being new to mountain biking I wouldn’t worry about the tyres that are on your bike just try to find the pressure that suits your riding style and the terrain you are riding on.
Developing an understanding about the main components that allow your bike to function efficiently is one thing, but being prepared for the unexpected when out riding in varying terrain and weather conditions is essential, not only for your own enjoyment and comfort but your overall riding experience.
Having the right clothing and carrying the right equipment on your rides will potentially get you out of most unwanted situations. But what should you wear and what should you carry?
If you are a newcomer to mountain biking you don’t need to purchase an entire expensive mountain bike wardrobe, but some quality essentials to protect you from the elements such as waterproof jackets and padded liner shorts are always a wise purchase.
In general clothing for mountain biking needs to allow for a full range of movement on the bike without being too loose and baggy. Look for weatherproof and breathable garments, including base layers which will allow you to keep warm in cold and wet weather. Avoid anything made from cotton. Cotton is unsuitable for riding in as it doesn’t dry well when it gets wet from rain or sweat. Sportswear and technical training tops are now widely available to suit most budgets.
Many riders choose to wear gloves, and whilst not essential I do highly recommend them as they offer protection against grazing and also provide better grip on the handlebars. Eyewear is something else that is not essential but I highly recommend that you have at least a basic pair of glasses. They need not be expensive, but they will help decrease the risks of small objects flying into your eyes in loose and wet conditions, as well as protect your eyes from the wind when riding at speed.
As a novice mountain biker you should be running flat pedals, and whilst you can purchase expensive cycling specific shoes you could just wear flat soled trainers. Skate-style trainers are often a suitable choice and will provide plenty of grip on flat pedals. Just don’t wear your favourite pair.

The shoes you wear with your flat pedals should have a flat, durable rubber sole. These are my own Ride Concepts Livewires.
What I would recommend you definitely invest in is padded liner shorts. You generally get what you pay for. The main purpose of padded shorts is to protect and cushion you butt and genitals from the pressures of the saddle, they also help to cushion the sit bones and prevent chafing, especially on all day rides. Don’t worry though the lycra doesn’t need to be seen, you’re not a roadie, you can wear baggy shorts over the top. Just don’t wear any underwear under the padded shorts as it defeats the object of them.
In my opinion there are certain pieces of equipment that you should take on every single ride without fail. Obviously it goes without saying that you should have an undamaged, cycling specific helmet, a hydration pack/rucksack, a water bottle and even a pump. But if anything goes wrong you’re going to want to be carrying items like a spare inner tube, tyre levers, a multi-tool, and even a first aid kit.

Whatever equipment you carry you want to familiarise yourself with how to use it. Even if you are unsure of how to fix something, you will no doubt come across another rider who will happily stop to help you out, and you’re always better off being equipped with your own kit rather than having to borrow someone else’s.
I’ve written a post previously on 17 essential items that you should pack for a mountain bike adventure so be sure to check it out as I go into much more depth there.
As I come to the end of this post I’m reminded of an old saying…
Education is important but riding your bike is importanter.
…and it’s so true. You don’t have to know the torque specifications for your whole bike, and you don’t need all the latest gear, all you really need is a smile and a sense of adventure, and whilst money can’t buy happiness it can buy a mountain bike and that’s pretty damn close.
In part two I will be discussing more technical aspects of riding your bike such as body positioning, and how to brake to build confidence.
In the meantime get out riding and remember to be nice and say hi!